

Showing posts with label handmade. Show all posts
Showing posts with label handmade. Show all posts
Friday, January 13, 2012
Reason I love pinterest # 39291
Alright, I'm a Pinterest addict. I'm okay with this. The day I found out there was an app for Droid (finally) was a great day. Now, I can browse while I wait for the train, or any other reason. I pinned this, because Gerard Butler and beading? I'm in heaven. Which lead me to this Tumblr that is filled with awesome AND Ryan Gosling. What?
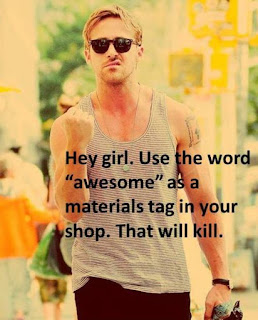 Check out Handmade Ryan Gosling. Just a little bit more dreamy. Although, there needs to be a Bradley Cooper one...while he's talking in French. *le swoon*


Monday, October 17, 2011
DIY: Bow tie necklace
The inspiration:
 | |||
| 1. Asos 2.Max and Chloe 3. Modcloth |

1 Bow (I found this at JoAnne's)
Chain (to the length you want)
Clasp
4 small open jump rings (I used 3.5mm)
2 slightly larger open jump rings (I used 4mm)
1 closed jump ring (I used 5mm)
Pliers
Bead reamer (or pin/needle)
I happen to have jewelry making supplies on hand, but Michael's and other craft stores sell these supplies.
Be aware most craft stores won't have sterling silver, which is my preference. You'll most likely need to go to a beading store for sterling, or order online.
I happen to have jewelry making supplies on hand, but Michael's and other craft stores sell these supplies.
Be aware most craft stores won't have sterling silver, which is my preference. You'll most likely need to go to a beading store for sterling, or order online.

Pierce hole on the side of your bow (for the connections).
Repeat on other side.

Open your larger jump ring.
Using both pairs of pliers, find the seam and push/pull in opposite directions.
Place smaller jump ring on the open one.

Attach through the hole you made, close jump ring.
To close, repeat how you opened it, be sure to make sure there's no gap.
Repeat Step 2 and 3 for other side.

Measure your bow.

Based on the size of your bow, determine the amount of chain needed.
I wanted my necklace to be about 16 inches, so I cut 13 inches of chain.
Be sure to keep in mind the clasp will add some slight length as well.
Cut the chain into 2 equal lengths.

Open smaller jump ring and attach a piece of chain, then close tightly.
Repeat for other side.

On one side, attach another smaller jump ring and your clasp.
Close tightly.

On the other side, attach the smaller jump ring and the closed one.
Close tightly.

Voila!

And on.
Please pardon my no makeup'd Sunday crafty self.
If you do this for yourself, I'd love for you to share it with me! What's your stance? To bow or not to bow? I'm excited to wear this with tees, button ups and dresses. I mean everything is classier when you're wearing a sparkling bow tie necklace, right?
Wednesday, May 4, 2011
Why I shouldn't be left to my own devices
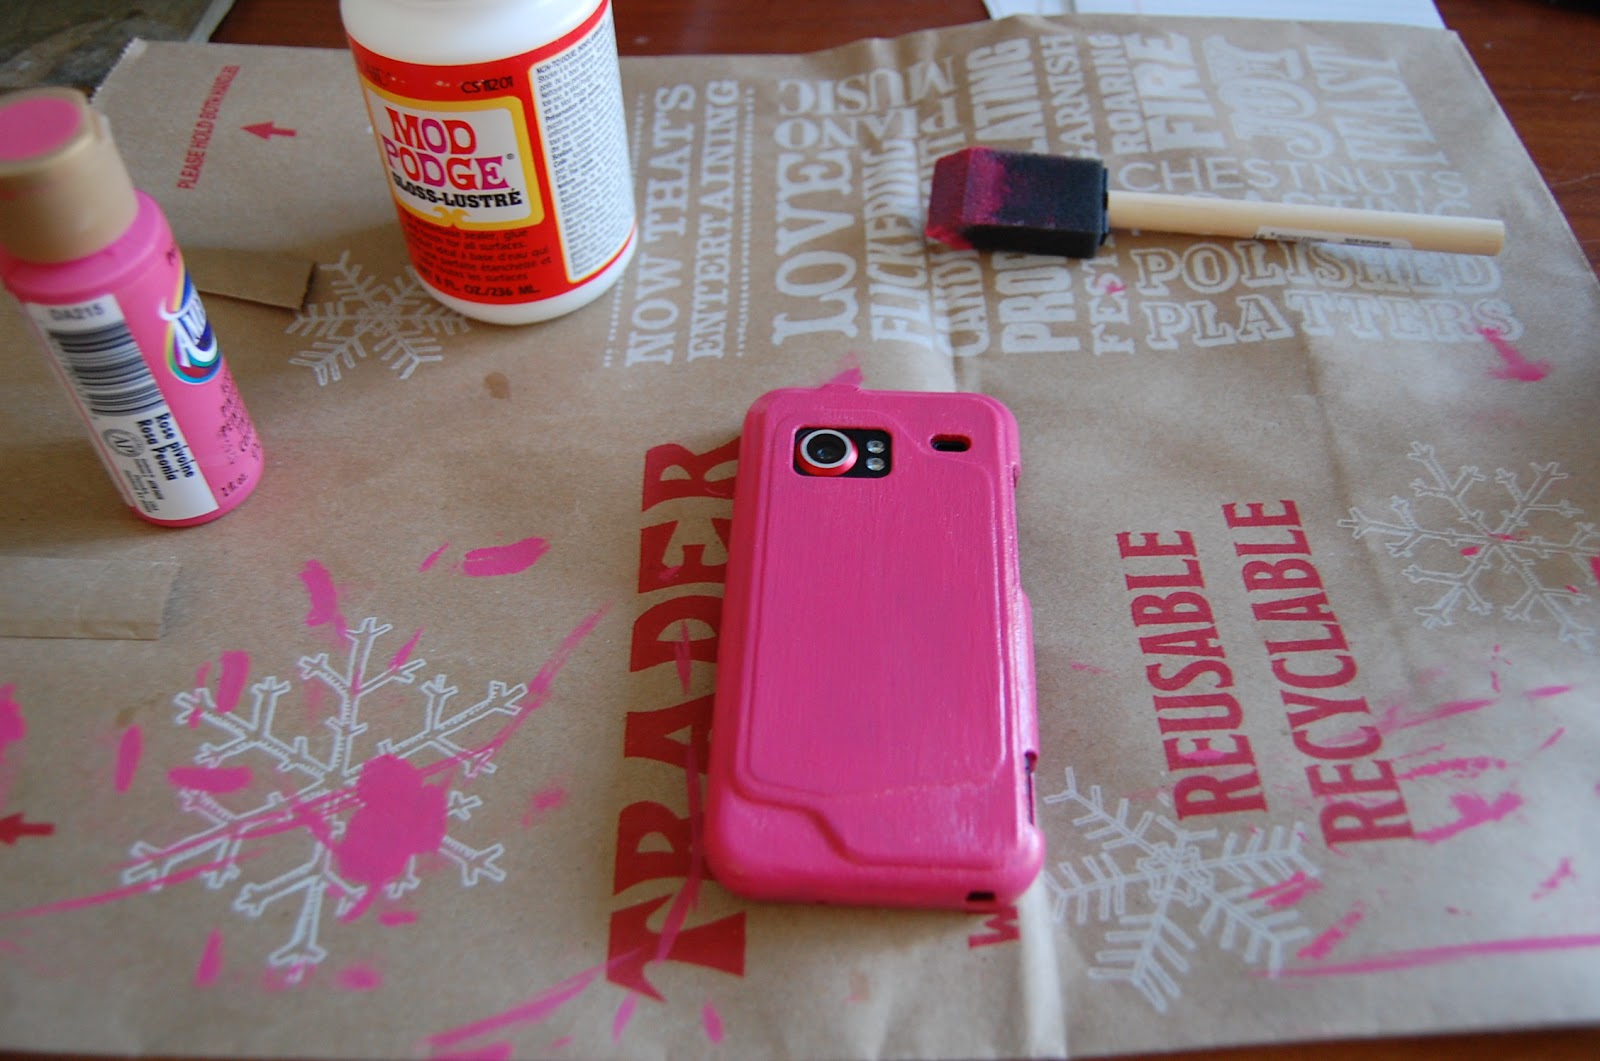
I'm not going to insult your intelligence by doing a step-by-step DIY, but essentially, I scuffed up the plastic with sandpaper, painted many many coats of the pink acrylic paint (letting it dry between each coat) and then covered it with gloss-finish Modge Podge (my crafty lover). Now, since doing this, and perhaps because I busted out the Modge Podge, I was thinking you could always stick a picture/stickers/perhaps even some lace, in between the last paint coat (applying while still tacky) and the Modge Podge. A bit of a decoupage, if you will. (I may have spent an entire summer doing this with magazines and small cardboard pencil boxes from my then employer, gifting them to friends before we all took off to college).
I did this while my husband was out, and when he came home he seemed a bit scared of my doings...however, I have to say, it's been 4 days now, and it hasn't chipped at all. I also haven't dropped it yet, so things may change
Tuesday, October 27, 2009
Mixed metals
So you saw my polyvore inspiration I used for my mixed metal designs. I figured now would be a good time to follow up and show you what my pieces turned out like.
The bracelet is a 3 strand one and I love the contrasting colors. I wasn't sure how the solid, all one color strands would look, and I think I might recreate this with just a random mixing of all colors on all 3 strands and compare the two.
 It was the hoop earrings that really got me to thinking that it might look amazing to do it this way.
I actually love how these hoop earrings turned out and I am definitely going to order more of these beads so that I can create a necklace (I'm thinking long, maybe wire linked, a few strands) for myself with the mixed colors. I'd also probably go larger in size to make construction a bit easier for myself (especially if I'm going to be wire wrapping each one).
So what do you think? I'm loving mixed metals, and I couldn't be more pleased with how these turned out.
Monday, October 5, 2009

Subscribe to:
Posts (Atom)